Results of the project
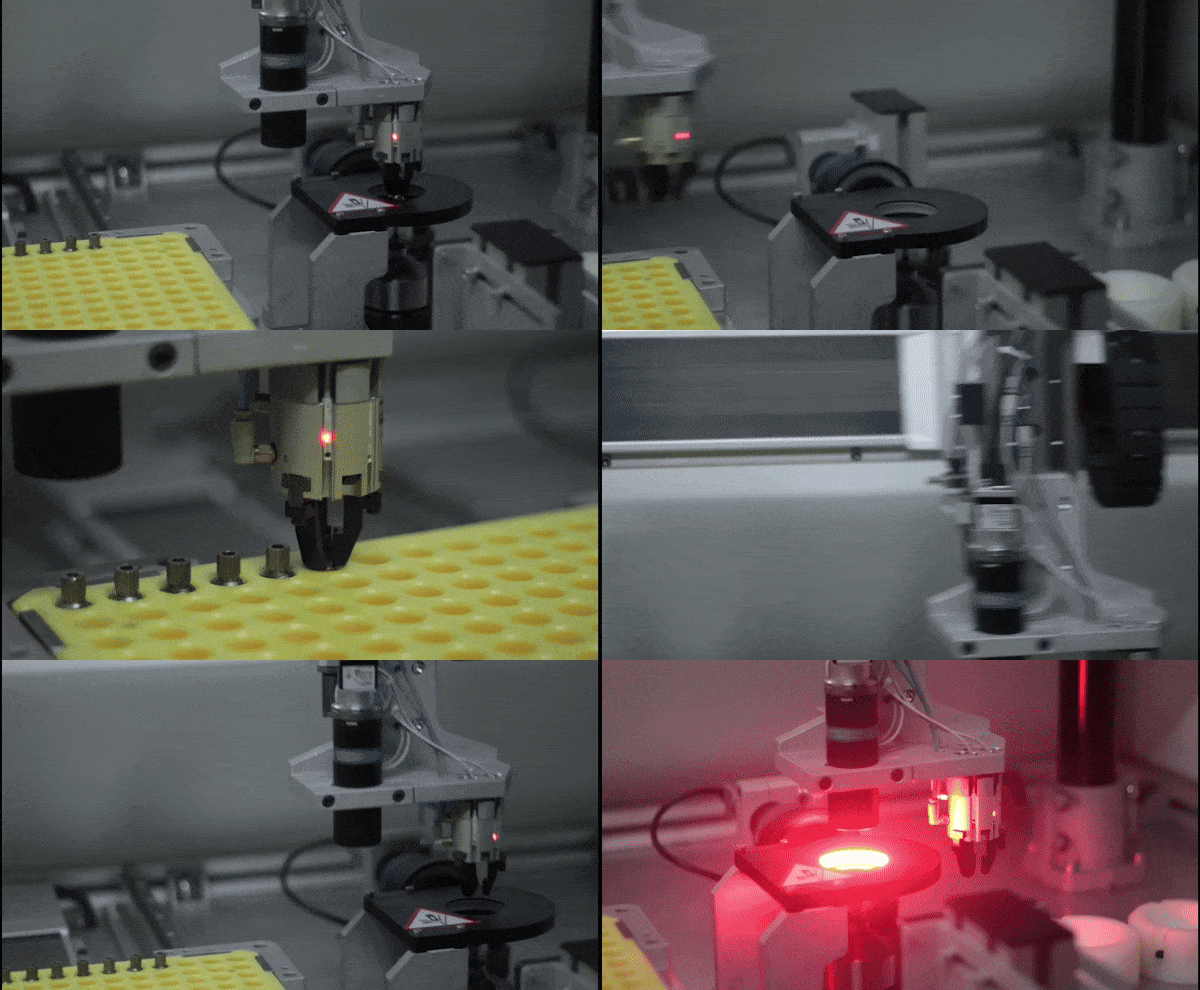
Yeditek developed a camera-based automatic quality control system, enabling precise measurement and geometric tolerance checks at production line speeds. As a result, the entire inspection process can now be completed automatically in 18 seconds per part.
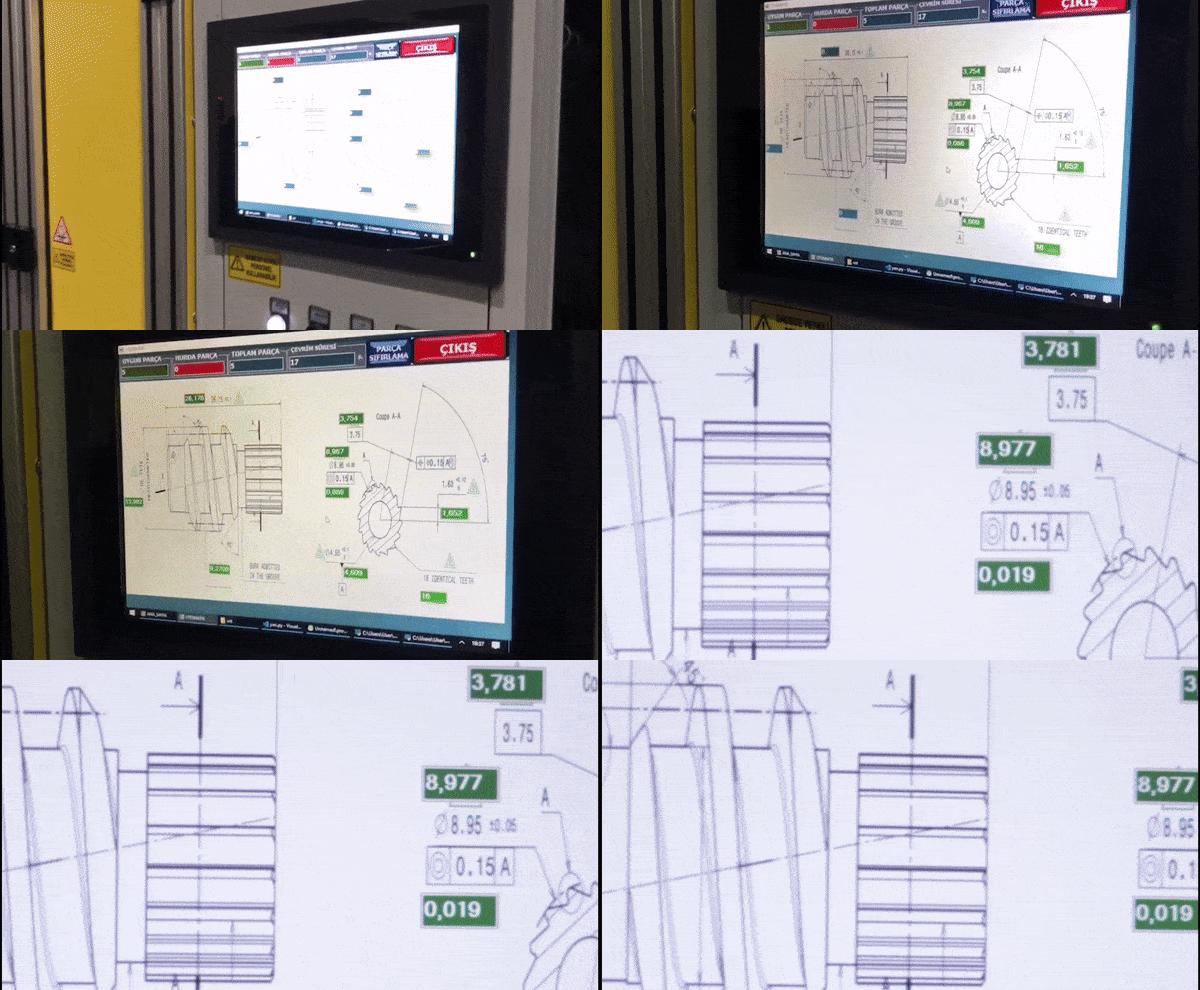
Precise measurements such as hole diameter, thread pitch diameter, width and length measurement, thread angles, pitch circle diameters, number of teeth, determination of tooth angles, and diameter concentricity control are now being carried out by the system with high accuracy.
Measurement results are presented with an interface where they can be viewed and stored in a database recording the outcomes of the parts, enabling traceability and automatic generation of Statistical Process Control (SPC) reports.
Faulty parts are directed to the quarantine box while correct parts are directed to the shipping box, ensuring significant efficiency and quality assurance in the production process.
The system has been confirmed to measure with a precision of 3 microns for inner diameter and 7 microns for thread pitch diameter in repeated tests of repeatability.
Promak Otomotiv secured part quality, obtaining approval from their customer for serial production. By eliminating the need for manual inspection, labor time was saved, leading to increased efficiency.
Challenge
Promak Otomotiv was facing the need for a quality control and precision measurement system that could not be provided by traditional measurement methods, considering the high production volumes for clutch parts that would be used in many different brands of cars, and was about to start new production.


Solution
Yeditek developed an automatic quality control system to ensure the precise measurement and geometric tolerances of the part at production line speed. To ensure the system's stability, a detailed analysis of the technical drawing was conducted to determine the camera/lens combination and lighting equipment that would provide the expected accuracy. A mechanical design was created for the system, capable of automatically inspecting 150 parts at once, and pneumatic equipment was identified. Two different cameras, two different telecentric lenses, and three different lighting setups were used to capture images. Thanks to the domestically developed image processing-supported measurement software developed by Yeditek, the entire inspection process was completed automatically in 18 seconds per part. Faulty parts were directed to the quarantine box, while correct parts were directed to the shipping box by the system, eliminating the need for manual inspection.
